
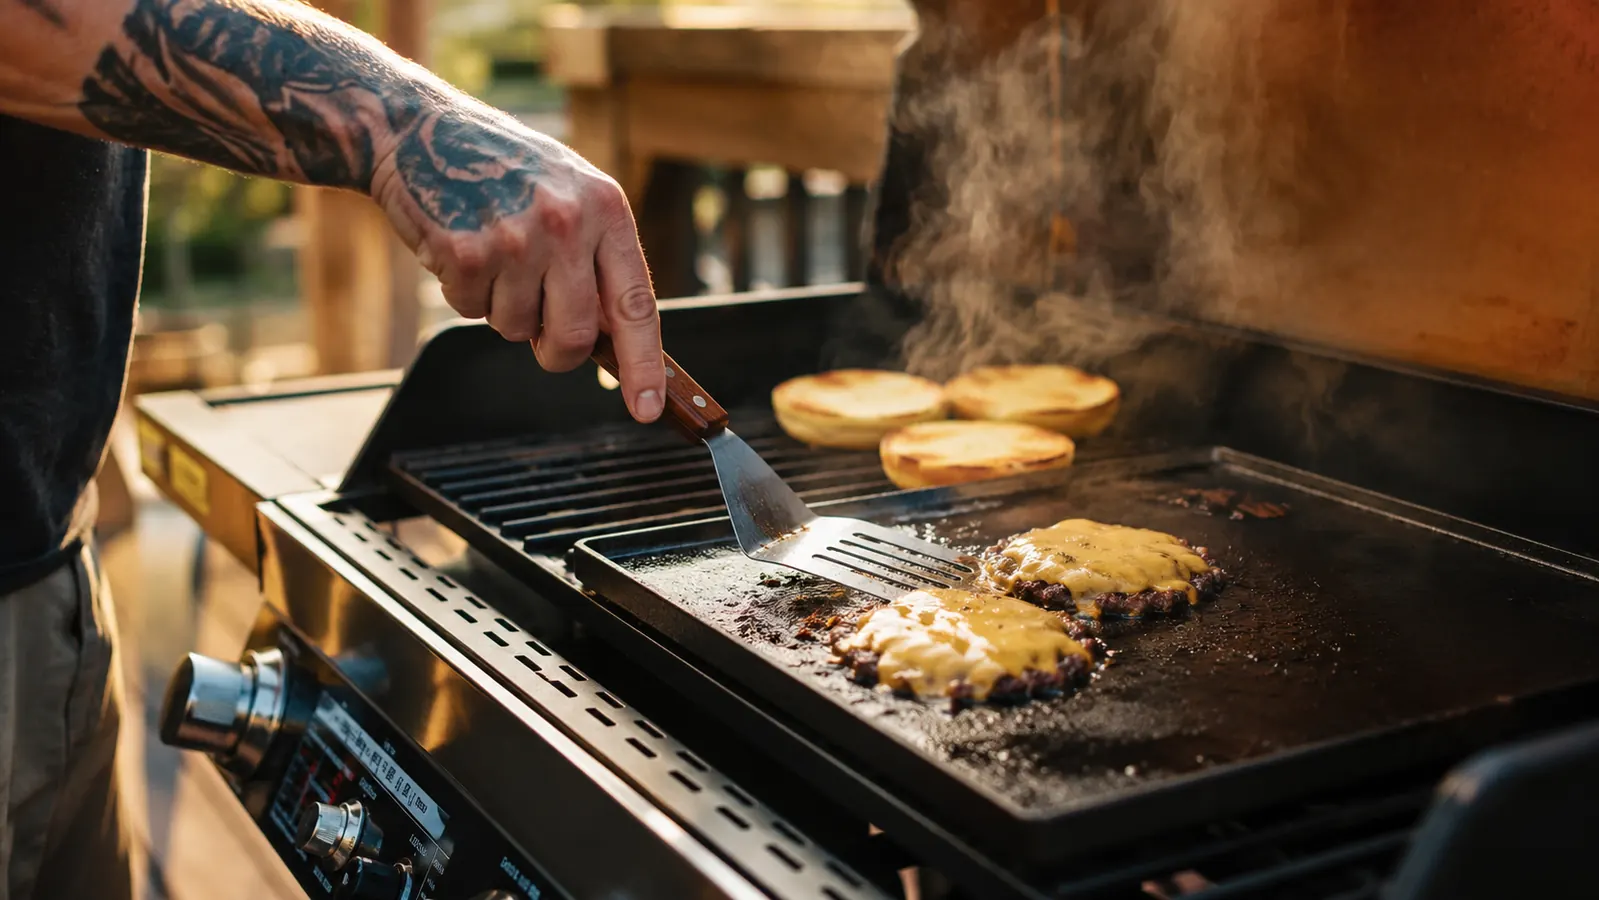
The first time I tasted a real smash burger, I was standing at a food truck outside a hardware store in Abilene. It was just beef, American cheese, and a toasted bun, but it had this deeply browned, lacy crust on every bite that my backyard burgers never had. Thick patties cooked on the grill were fine. But that smash burger was something else entirely. I drove home and started figuring out how to make it myself, and now it is what I make when company is coming and I want to actually impress people without spending two hours over a smoker.
The technique is not hard. But there are a few things that will trip you up if nobody tells you. Getting the fat ratio right, hitting the correct surface temperature, and smashing at the right moment all matter more than the recipe. Get those three things right and you will have burgers with a mahogany crust, juicy middles, and that slightly caramelized onion flavor baked right into the meat. Get them wrong and you end up with a thin, dry hockey puck. I am going to walk you through each step so you end up with the first result, not the second.
The right press makes the smash clean and even every time
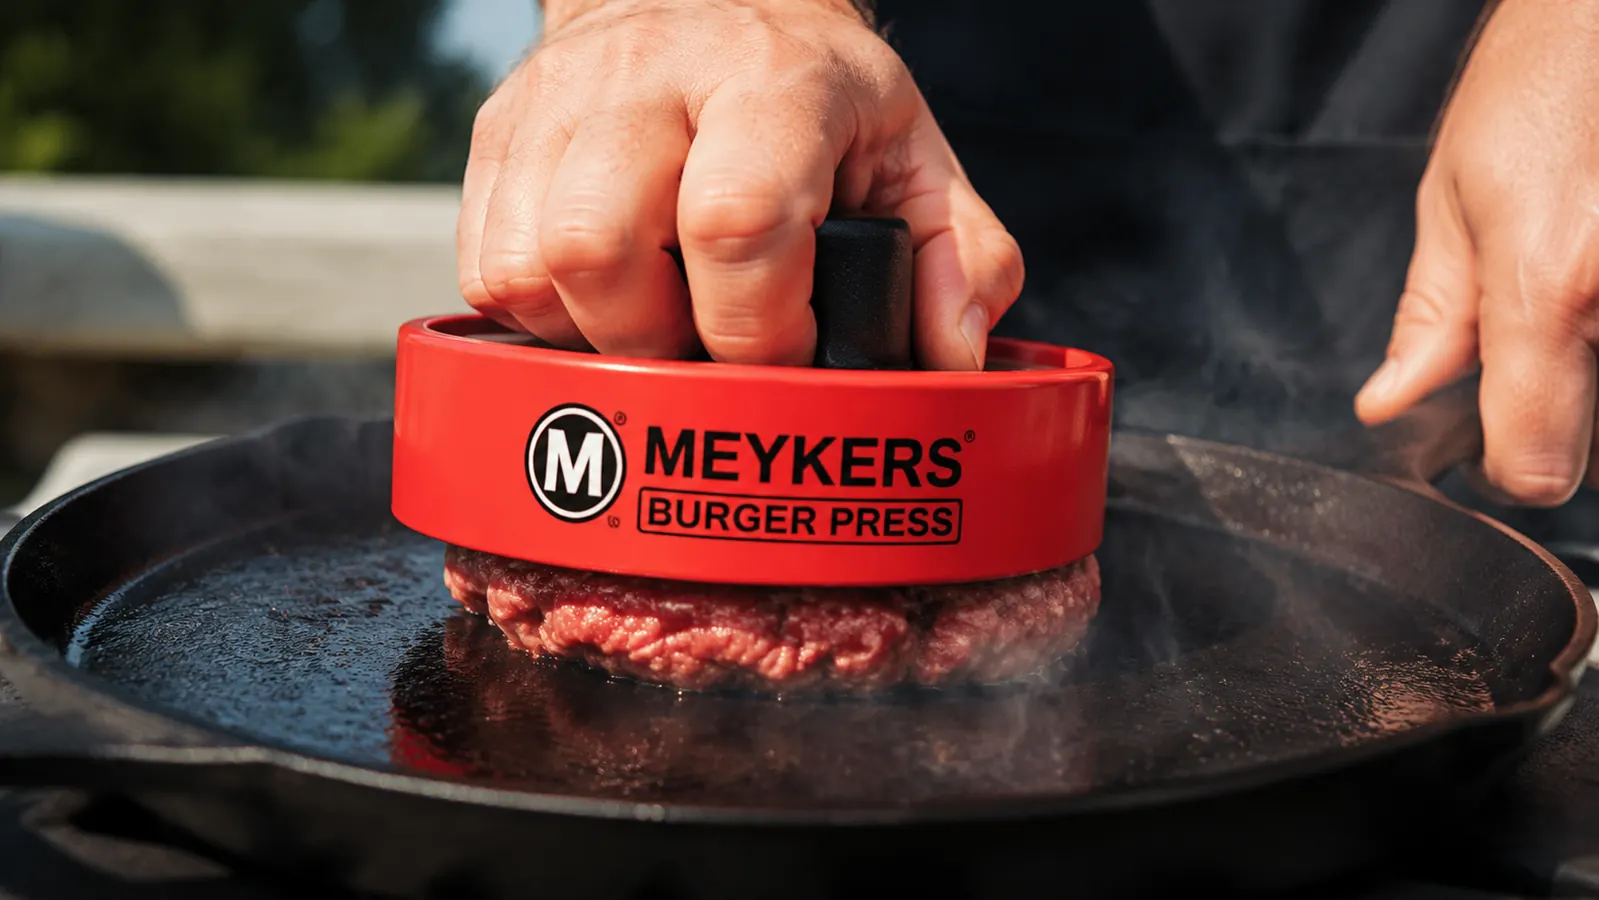
I use the Meykers Burger Press for every smash burger I make. It comes with 150 wax patty papers so nothing sticks, and it presses a consistent circle from ball to patty in one motion. Check today's price and see if it fits your setup.
Amazon Check Today's Price on Amazon →Step 1: Choose the Right Meat and Fat Ratio
You want 80/20 ground beef. That is 80 percent lean, 20 percent fat. Do not go leaner. Smash burgers are cooked fast on a very hot surface, and fat is what keeps a thin patty from drying out in under two minutes of cook time. It is also fat that sizzles and sputters when it hits that hot cast iron, which is what creates the deeply browned, crispy edges that define this style of burger. If you use 90/10 because you are watching what you eat, the burger will taste fine but you will lose most of that crust. Save the leaner grind for thicker patties cooked to 165 degrees F for someone who needs it fully cooked through.
If you can get freshly ground beef from a butcher, ask for a coarse grind on a chuck blend. Pre-packaged supermarket 80/20 works perfectly well. What you want to avoid is buying a pre-formed patty for this. Smash burgers start as a loosely packed ball and you are forming the patty by smashing it yourself. Pre-formed patties have too much structure and will not spread and flatten the way you need them to.
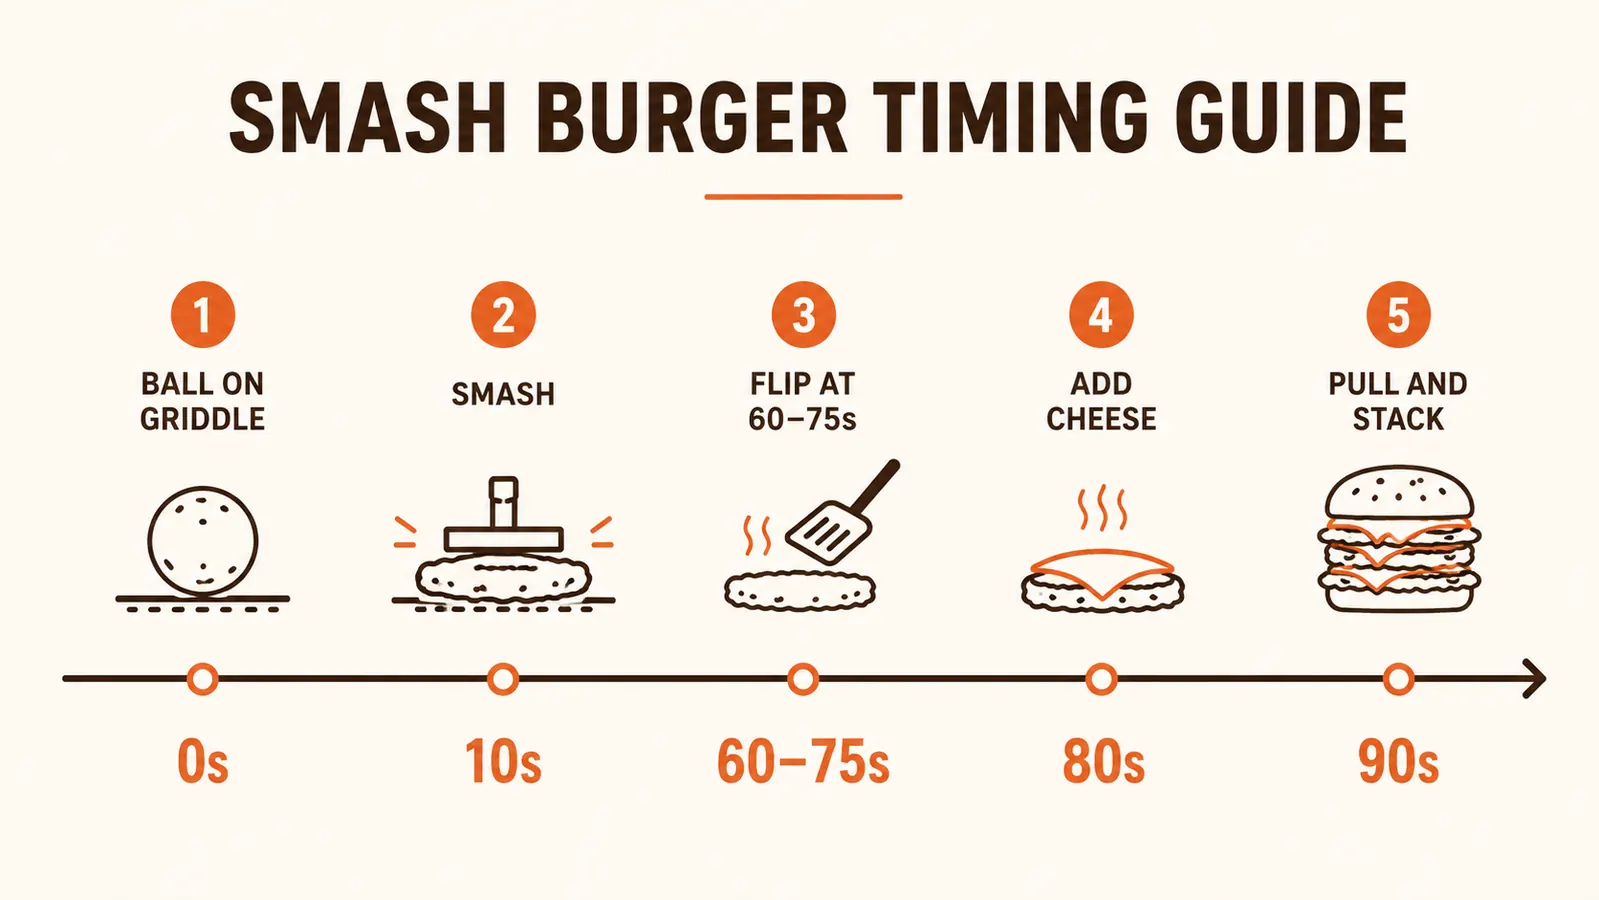
Internal temperature note: the USDA recommends ground beef reach 160 degrees F to be food safe. Smash burgers cook quickly and get thin, so they will typically hit that temperature fast. Use an instant-read thermometer on your first few cooks until you have a feel for timing. A 3-ounce smash patty on a 500-degree surface will reach 160 degrees F in roughly 60 to 75 seconds per side.
Step 2: Portion Your Balls Correctly
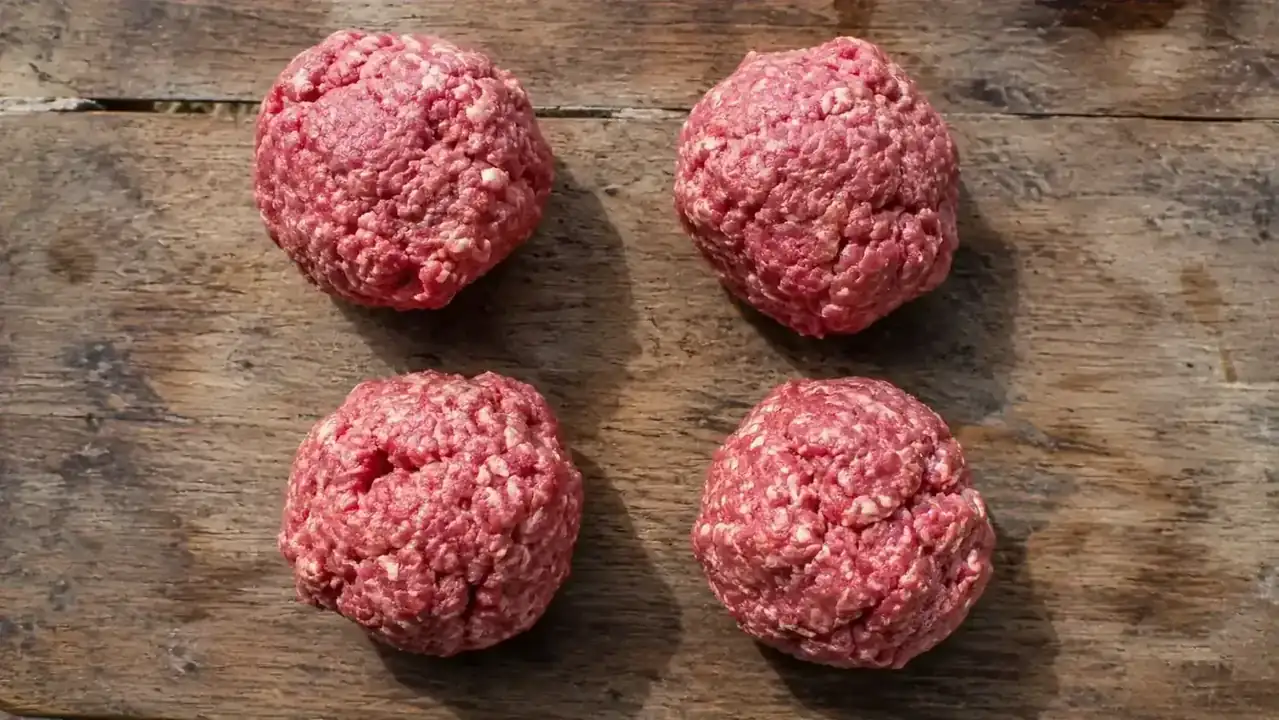
Portion each ball at 2.5 to 3 ounces for a single smash patty. I use a kitchen scale because eyeballing it leads to patties that cook at different rates and you end up with some done and some not. If you do not have a scale, a golf ball-sized portion is a reasonable approximation. For a double smash burger, you will press two separate balls and stack them, not form one thicker ball.
Do not pack the ball tight. You want it just barely holding together. Gently roll it between your palms into a rough sphere and set it aside. Tightly packed meat will resist the smash and give you a denser burger with less lacy crust. Loose meat spreads more when pressed, giving you a wider, thinner patty with more surface area in contact with the hot pan. That contact is everything in smash burger cooking.
You can portion all your balls ahead of time and refrigerate them for up to a few hours. Cold meat holds its shape a little better going onto the griddle, which helps with the smash. Room temperature meat is fine too. Just do not flatten them before cooking. Keep them round until they hit the pan.
Step 3: Get Your Surface Blazing Hot
This is where most backyard cooks go wrong. Smash burgers need a flat cooking surface at 450 to 500 degrees F minimum. A grill grate will not work for this style because too much of the meat surface is not in contact with heat. You need a cast-iron skillet, a cast-iron griddle, or a flat steel griddle sitting on your gas or charcoal grill. A 12-inch cast-iron skillet works well for two patties at a time. A full griddle plate that covers two burners lets you cook four to six at once.
Preheat the pan for at least 10 minutes over high heat. If you drop a few drops of water on it and they evaporate almost instantly with a loud sizzle, you are close. If the water dances around in little beads, you are at the right temperature. On a gas grill, get both burners under the griddle on high. On charcoal, build a full chimney of lit coals piled under the cooking area and let the grate and griddle heat together.
Do not oil the pan. With 80/20 beef, the fat in the meat does the job. Adding oil raises the smoke point issue and can cause the pan to smoke heavily before the burger goes on. Just drop the ball onto the dry, blazing hot cast iron and let the beef's own fat do the work. This is different from most cooking. Trust it.
Step 4: Smash Immediately and With Conviction
Drop the ball onto the hot surface and immediately, within 10 seconds, press it flat. This is where the Meykers burger press earns its place in my kitchen. The press has a flat, non-stick surface and a handle that keeps your hand away from the heat. Place a wax patty paper between the press and the meat so nothing sticks, then press straight down with steady firm pressure and hold for about 10 seconds. You want to flatten the ball to roughly a quarter-inch thick. Do not smash it paper-thin or it will dry out, but do not be timid about it either.
Why immediately? Because in those first seconds, the ball is soft and the heat has not yet started firming up the proteins. After about 15 to 20 seconds on the hot surface, the bottom crust starts to set and the meat loses its elasticity. If you wait too long to smash, you will tear the burger rather than spread it, and you lose the integrity of that outer crust before it has formed. Smash fast, press firm, and hold for a full 10 count.
Once the press comes off, leave the patty completely alone. Do not move it, do not check the edge, do not fidget with it. Let it cook undisturbed for 60 to 75 seconds total. You will see the edges turn gray and the fat bubbling around the perimeter. That is the crust forming on the underside. Wait for it.
Smash fast, press firm, hold for a full 10 count. Then leave it alone. Every time I have gotten impatient and flipped early, I have lost the crust.
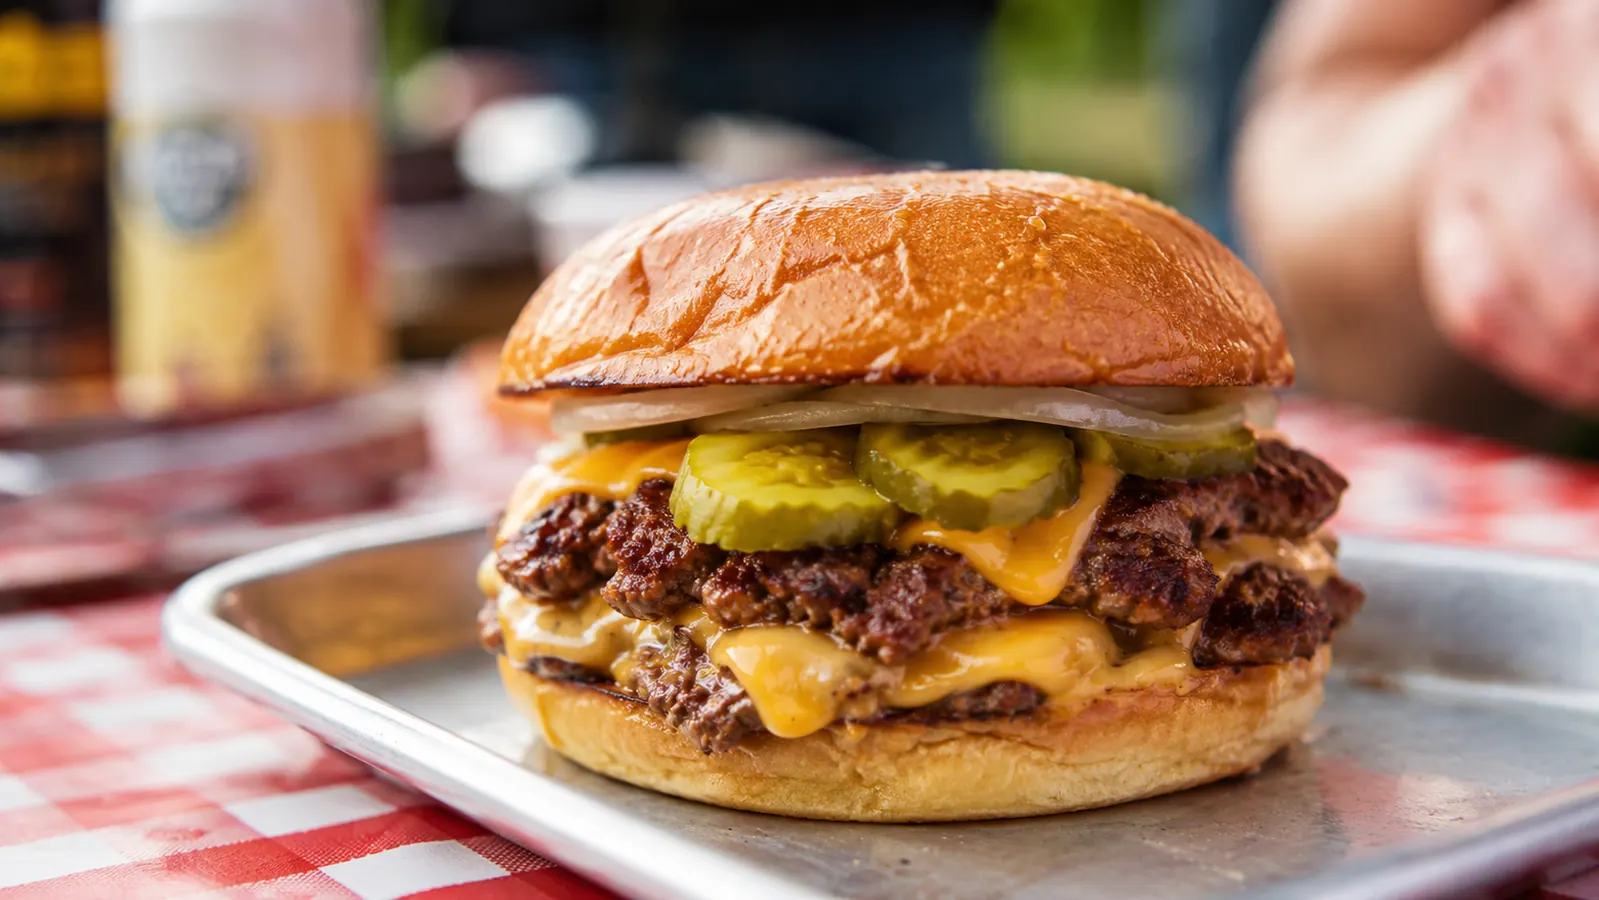
Step 5: Season, Flip Once, and Add Cheese
Season the top of the raw patty right after you smash it, while it is still cooking on the first side. A pinch of kosher salt and a crack of black pepper is all you need. Some cooks add a little garlic powder or smoked paprika too. Season the raw side facing up so it seasons into the meat as it cooks rather than sitting on top of a finished crust.
Flip once and only once. Use a thin metal spatula and get under the full patty in one clean motion. The crust should release cleanly from the pan if it is ready. If it drags or sticks, give it another 10 to 15 seconds. After flipping, the second side cooks much faster because the patty is already thin and hot through. Give it 30 to 45 seconds on the second side.
Add cheese immediately after flipping, while the second side is cooking. American cheese is the traditional choice for smash burgers and I think it is the right one. It melts fast and completely, draping over the edges of the patty rather than sitting in a stiff pile. For a double burger, stack the second patty on top of the first while both are on the griddle and let the cheese melt between them. Pull the burger at 160 degrees F internal temperature. At this patty thickness and surface temperature, that is roughly 30 to 45 seconds after the flip.
Step 6: Toast Your Buns and Build the Stack
While your patties are on the griddle, toast the buns cut-side down on the same surface or directly on the grill grate for 30 to 45 seconds. You want them golden and slightly crisp on the inside so they do not turn to mush the second the saucy patty hits them. Potato rolls are my preference for smash burgers. They are soft, slightly sweet, and sturdy enough for a double stack without disintegrating.
Build the burger immediately after toasting. The classic smash burger stack is: bottom bun, yellow mustard, thin-sliced white onion, pickles, patty with melted cheese, and top bun. You can go fancier but I would encourage you to try it plain the first few times. The Maillard crust on that patty is the star. A lot of sauce and toppings can actually hide what makes a smash burger worth eating.
For a double, place the second cheese-draped patty right on top of the first before lifting off the griddle. Stack them together so the cheese between them bonds the two patties into one unit. Lift both at once with the spatula and set directly on the prepared bottom bun. Serve immediately. Smash burgers do not wait well, they are at their absolute best in the first two minutes off the griddle.
What Else Helps
A good press is not strictly required but it makes a real difference in consistency, especially when you are feeding a crowd. When I am pressing eight or ten burgers in a row, my arm gets tired and my smash gets inconsistent. The Meykers press keeps the pressure even and the patties round, which means they cook at the same rate and look good on the bun. It also includes 150 wax patty papers so nothing sticks to the press face on pull. That is a small thing that matters when you are moving fast at the grill. If you want to read a deeper breakdown of how it holds up over time, see my full review: Meykers Burger Press: Making Patties Every Weekend for an Entire Summer.
A thin, flexible metal spatula is the other thing worth having. A thick grill spatula will not get under a smash patty cleanly. You want something almost like a bench scraper, thin and wide, that slides under the whole patty in one pass. The cheaper the better, honestly. My favorite is a plain restaurant-supply offset spatula I bought for a few dollars.
If you want to understand all the ways a burger press improves your cookout beyond smash burgers specifically, including standard backyard patties for a crowd, I cover that in detail here: 10 Reasons a Burger Press Makes Backyard Burgers Better.
The thin metal spatula is just as important as the press. You cannot flip a smash patty cleanly with a thick grill spatula. I learned that the hard way the first time I tried this.
Quick Smash Burger Troubleshooting
If your burger sticks to the pan, the surface is not hot enough or you tried to flip too early. A properly formed crust releases on its own. Give it more time and make sure you are preheating the griddle fully before the first ball goes on.
If the burger dries out and has no juice, you are either using too lean a grind or cooking it too long. Stick with 80/20 and pull at 160 degrees F. These are thin patties and they do not need or want a long cook time.
If you are not getting a lacy crust with dark brown edges, you either waited too long to smash (past the 10-second window) or your surface temperature is not high enough. Get a surface thermometer and verify you are hitting 450 to 500 degrees F before the first burger goes on. Most people think their pan is hot enough when it is not.
Consistent smash burgers start with a consistent press
If you are still pressing by hand or using a pan bottom, the Meykers burger press will clean up your technique fast. It presses a round, even patty every time and the included patty papers prevent sticking. Check today's price before your next cookout.
Amazon Check Today's Price on Amazon →