
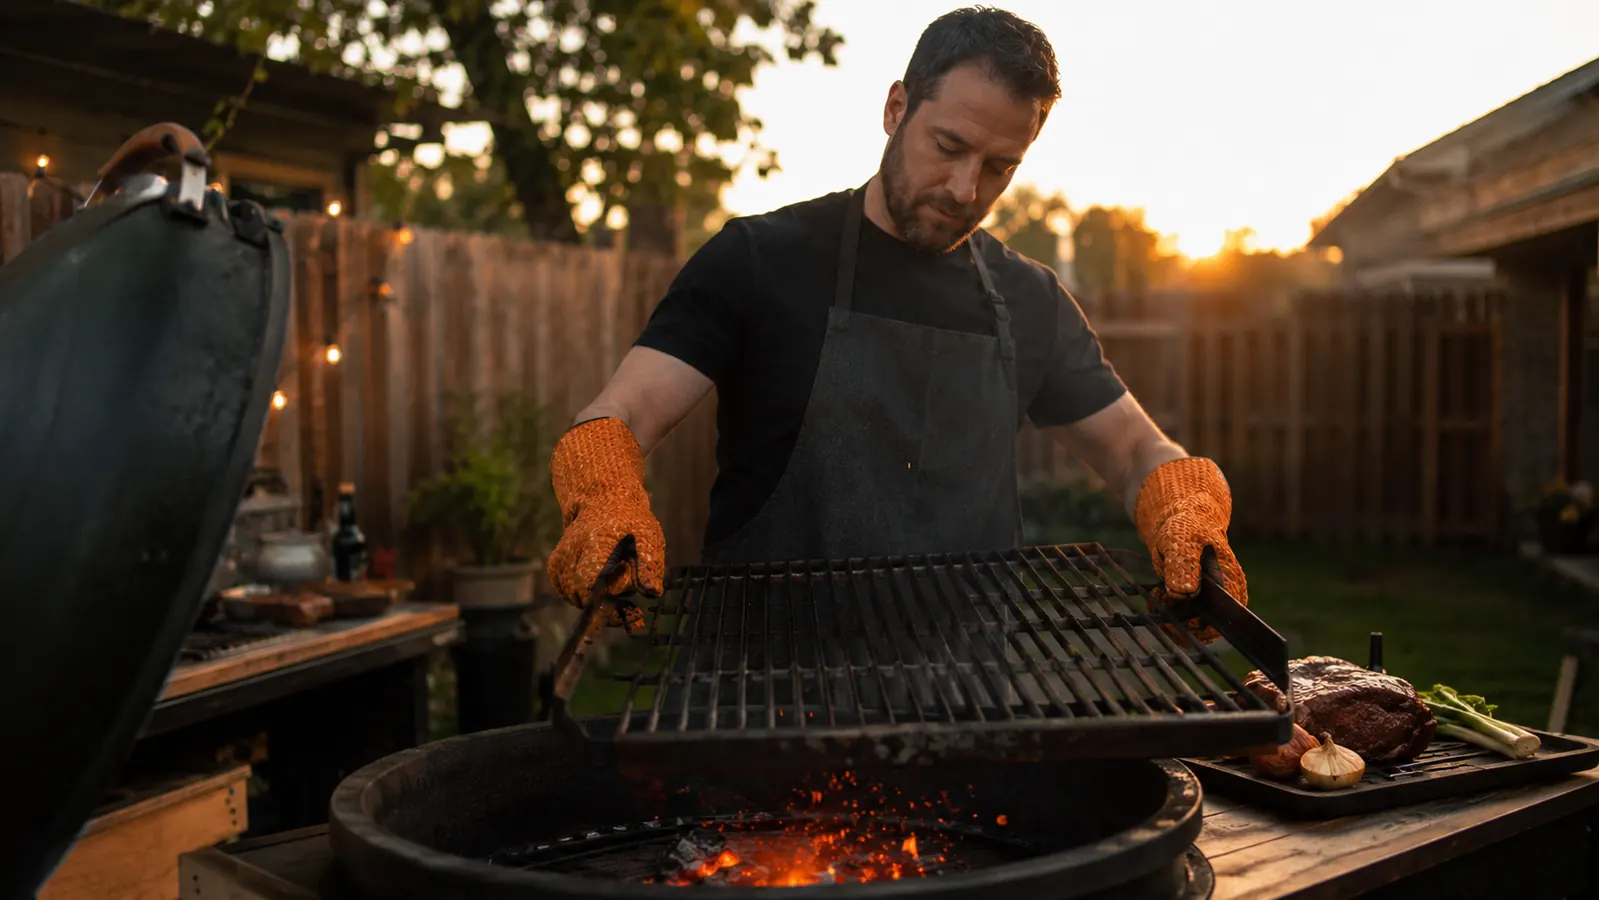
I burned my forearm on a kettle grate in my early twenties, and I still have the mark to prove it. I was trying to reposition the grate barehanded because I thought gloves were for people who did not know what they were doing. Turns out I was the person who did not know what they was doing. A grill grate sitting over a full chimney of lit charcoal can be 500 degrees or hotter, and it does not care how many cookouts you have survived. The GEEKHOM BBQ gloves are the single tool I reach for before I touch anything hot at the grill, and this guide will walk you through every situation where you genuinely need them.
We will cover moving grates, adjusting live charcoal, handling a charcoal chimney starter, lifting cast-iron pans and Dutch ovens directly off the grill, flipping large cuts like brisket and pork shoulder, and what to do when a flare-up surprises you. Every step has a gear note and a body-mechanics tip, because even the right gloves will not protect you if you reach awkwardly across a firebox.
Your bare hands are one slipped grate away from an ER visit. Here is the glove that stops that.
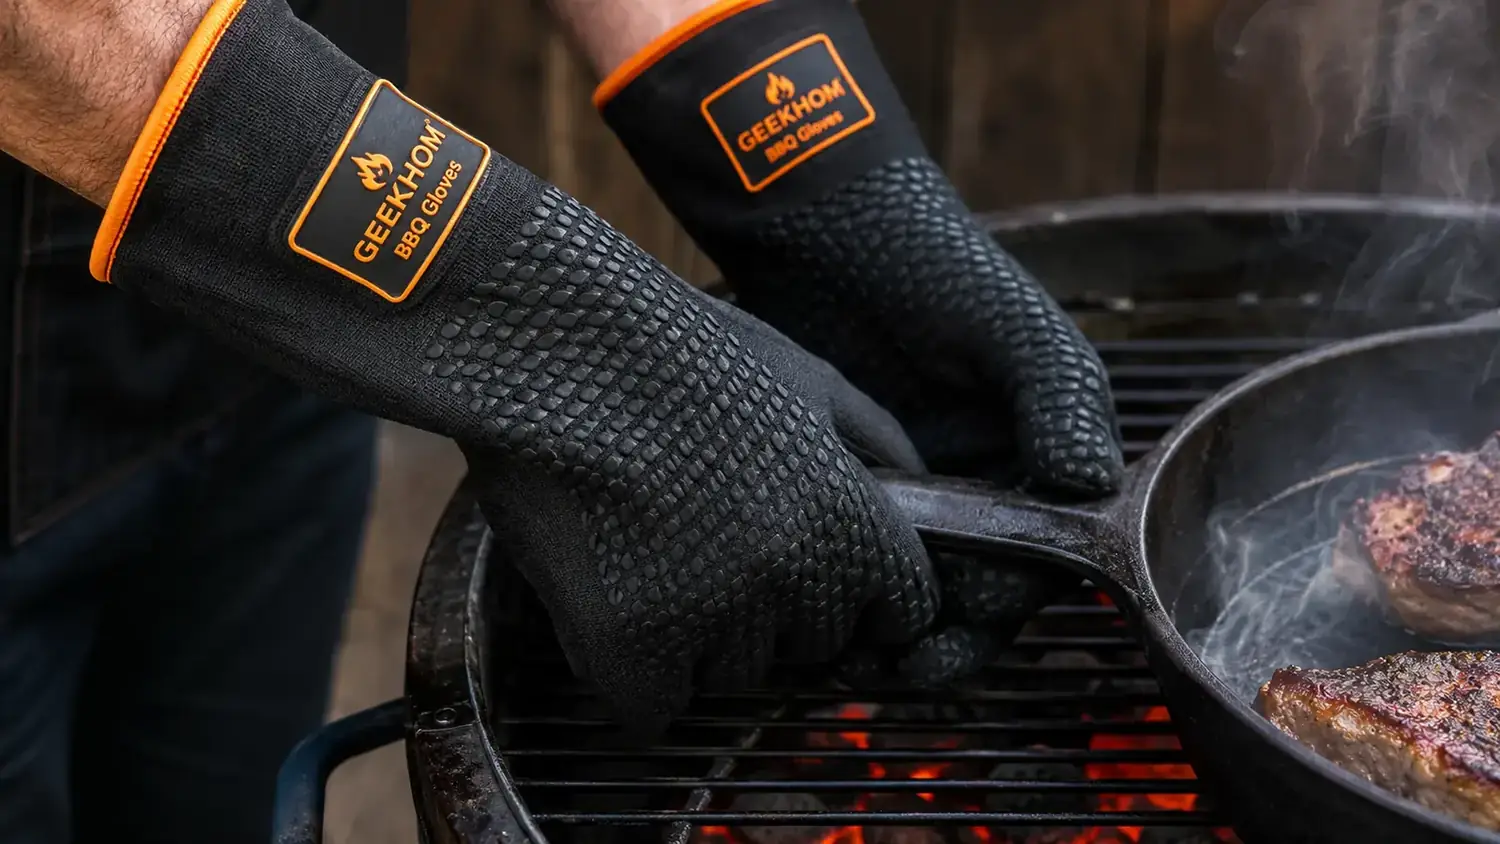
The GEEKHOM BBQ Gloves are 13.7 inches long, rated to 932 F, and have a silicone grip pattern that holds onto wet, greasy, or slick surfaces. Over 21,000 reviewers on Amazon. They are what I put on before any of the steps below.
Amazon Check Today's Price on Amazon →The Gear You Actually Need Before You Start
I will not tell you that you need a full rack of specialty tools to grill safely. You really just need two things: a reliable pair of heat-resistant gloves and a long pair of tongs (at least 16 inches). Everything else is a nice-to-have. The gloves handle any task that requires touching a hot surface directly. The tongs keep your hands at a safe distance for everything else.
For gloves, the GEEKHOM silicone BBQ gloves are the ones I keep on my grill shelf. They are 13.7 inches long, which matters more than most people realize. A short oven mitt protects your hand but leaves your forearm exposed to radiant heat from the firebox. The extra length on the GEEKHOM pair covers your forearm up to mid-bicep, which is exactly where forearm burns happen when you reach across a lit charcoal grate. The silicone exterior is also waterproof, so if you are basting while you flip, a squirt of butter does not soak through to your skin the way it does with cloth mitts. The inner cotton lining absorbs sweat and adds a cushion layer, so your hands do not feel like they are inside a rubber balloon after ten minutes.
For tongs, go long. Twelve-inch tongs are fine for the stovetop, but at a grill they put your hand directly over the firebox. Sixteen inches keeps your forearm above the hottest radiant zone. Lock-and-release tongs with a scalloped edge grip a brisket flat or a pork shoulder reliably without puncturing the crust and letting juices drain out.
Step 1: Put On Your Heat-Resistant Gloves Before You Open the Lid
This sounds obvious, but I see people crack the lid, feel the blast of heat, and then reach back for their gloves. By then you have already taken a faceful of steam and the situation is rushed. Put on the gloves before the lid comes off, every single time. It takes three seconds and it puts you in control instead of reacting.
With the GEEKHOM gloves on, make sure your fingers are fully seated and there is no bunching of material at the palm. A loose glove reduces dexterity and can catch on a grate bar mid-lift, which is its own safety problem. Pull them snug, wiggle your fingers to confirm grip, then proceed.
One more thing: keep a dedicated hook or clip on your grill cart for your gloves. If you have to hunt for them while the lid is open and the coals are roaring, you will skip the gloves. Make them the first thing your hand finds when you step up to the grill.
Step 2: Moving Hot Grill Grates
Moving a hot grate is the task that sends most backyard grillers to the sink with cold water. The grate is heavy, awkward, and radiating heat from below. With gloves on, grip the grate at two points roughly one-third of the way in from each end, not at the center (too much flex) and not at the far edges (too close to the hot zone above the coals). Lift straight up, not at an angle, so the grate does not drop grease into the coals and cause a flare-up on the way out.
Set the hot grate on a heat-safe surface, not on the wooden side shelf of your grill cart and not on your concrete patio (the thermal shock can crack certain pavers). A spare brick, a metal prep tray, or the open firebox ring of the grill all work. Keep the grate away from foot traffic and tell anyone nearby that it is hot. A 500-degree grate sitting on a patio at shin height is a trip-to-the-ER waiting to happen for a kid or a dog.
When you are adding the grate back, lower it straight down and make sure the notch-feet seat properly in the firebox rim before you let go. A grate that sits crooked will flex under a heavy brisket and could tip it into the coals.
Step 3: Adjusting Live Charcoal and Repositioning Coals
Adjusting a live coal bed is where I see the most improvised tools: fireplace pokers, wooden spoon handles, folded newspaper. Please do not. A long-handled charcoal rake or a fireplace poker with a metal shaft is the right tool. If you need to push coals to one side for a two-zone setup, grip the handle of the rake with your gloved hand and move coals in slow, deliberate sweeps, not fast jabs that kick up sparks and ash toward your face.
Wear your gloves any time your hand is inside the firebox zone, even if you are only reaching down to the bottom vent. The radiant heat from 4 pounds of lit charcoal at close range is enough to blister unprotected skin in under two seconds. The GEEKHOM gloves handle that environment comfortably because the silicone shell reflects radiant heat rather than absorbing it the way cloth does.
If you need to add unlit charcoal to an active bed, pour it slowly from the bag at grate level rather than from arm's length above, which throws sparks. Better yet, use a charcoal chimney to pre-light the new coals and add them already lit. It keeps your temperature more consistent and avoids the white-ash stage where a big pour smothers an established fire.
A 500-degree grate does not care how many cookouts you have survived. It only cares whether your skin is between it and the air.
Step 4: Using a Charcoal Chimney Starter Safely
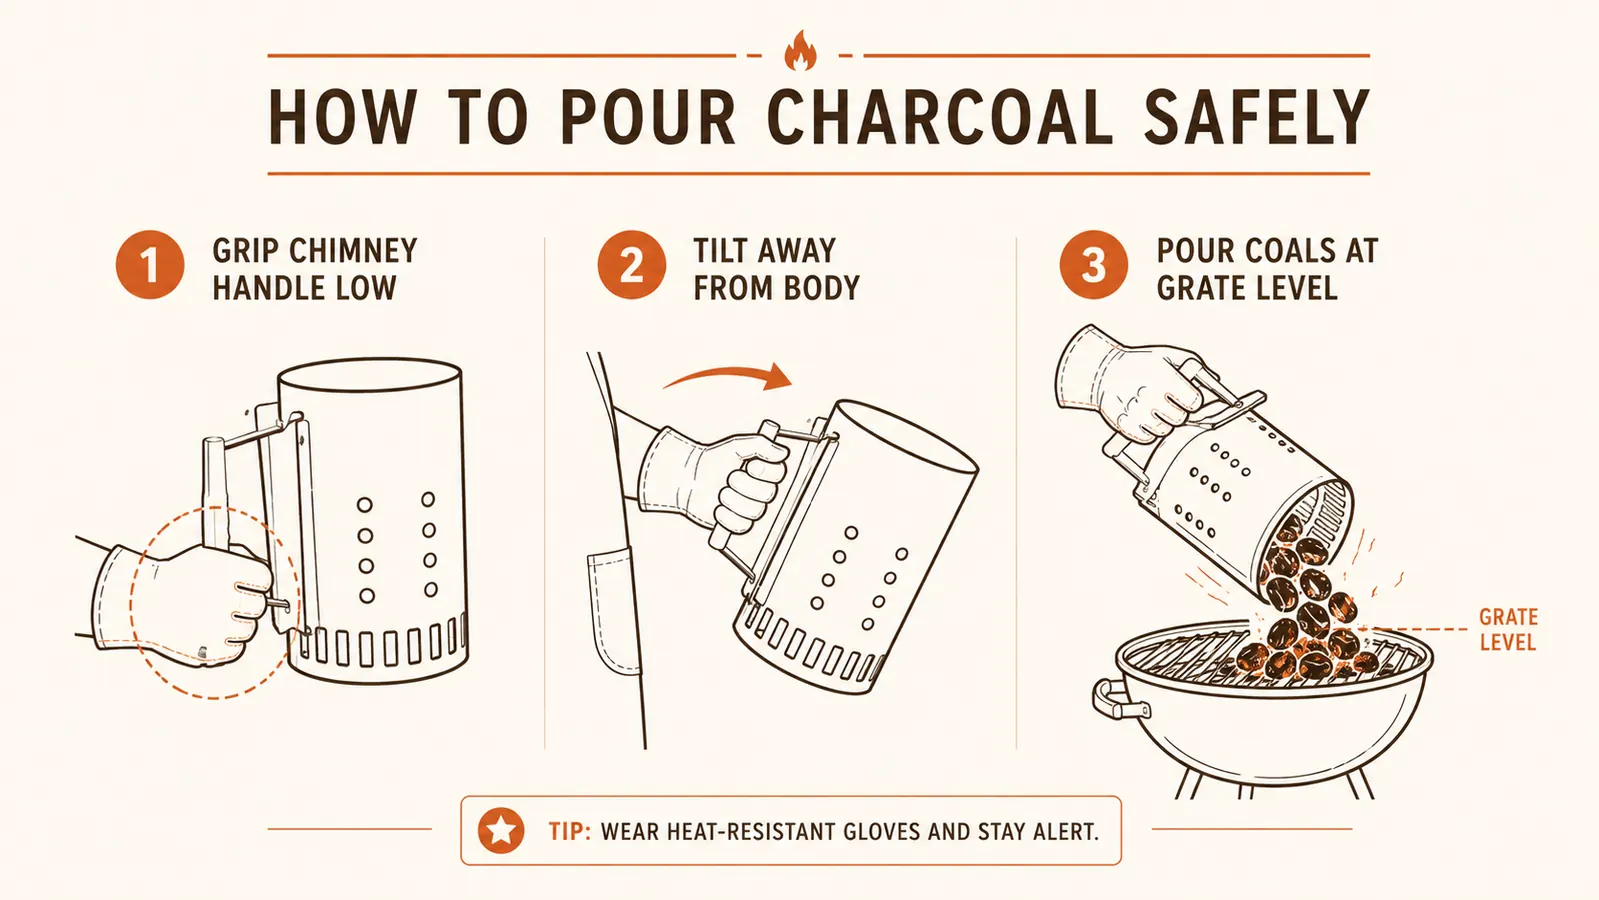
A charcoal chimney starter is one of the safest and most reliable ways to get a coal bed going, but it is also a container full of 700-degree burning charcoal that you have to pick up and pour. Respect it accordingly. Always use the handle on the side of the chimney, not the top grate handle. The side handle keeps the chimney tilted slightly away from your body naturally as you lift. The top handle encourages you to hold the chimney directly overhead, which puts your face and arm over the pour path.
When you are ready to pour, stand to the side of the grill, not directly in front of it. Hold the chimney at the bottom of its side handle, tilt it into the firebox in a smooth pour rather than a dump, and move your hand back immediately. Do not try to shake the last few stubborn coals out by shaking the chimney over the grate at close range. Set the empty chimney on a fireproof surface and let it cool for at least 20 minutes before you store it.
The GEEKHOM gloves are long enough to protect the entire pour motion because your forearm crosses the open top of the firebox briefly as you tip the chimney in. Without forearm coverage, that moment is where flare-up radiant heat bites you.
Step 5: Handling Cast-Iron Pans and Dutch Ovens on the Grill
Cast iron on a grill is one of my favorite ways to cook, and it is also genuinely dangerous if you treat it like you would on a kitchen stove. A 12-inch cast-iron skillet sitting over a full charcoal bed for 45 minutes will be around 600 degrees, including the handle. There is no such thing as a cool spot on cast iron when it has been over live fire that long. Silicone gloves with a firm grip are the right tool here because the silicon grips a smooth iron handle far better than a cloth oven mitt, which tends to slide.
When lifting a cast-iron Dutch oven with a lid on, grip the body handles on the sides, not the lid knob. The lid is the part most likely to shift during the lift, and if it slides even an inch, it can tip the whole pot. Grip the pot handles firmly with both gloved hands, lift straight up without rocking, and set it on a heat-safe trivet or cast-iron cooling rack. A heavy Dutch oven on a thin wooden cutting board will char the wood in under a minute.
Always announce to everyone around you that the pan is hot before you carry it anywhere. Cast iron holds heat for 30 minutes or more. A pan that looks cool is not necessarily cool.
Step 6: Flipping Large Cuts Like Brisket, Pork Shoulder, and Whole Chickens
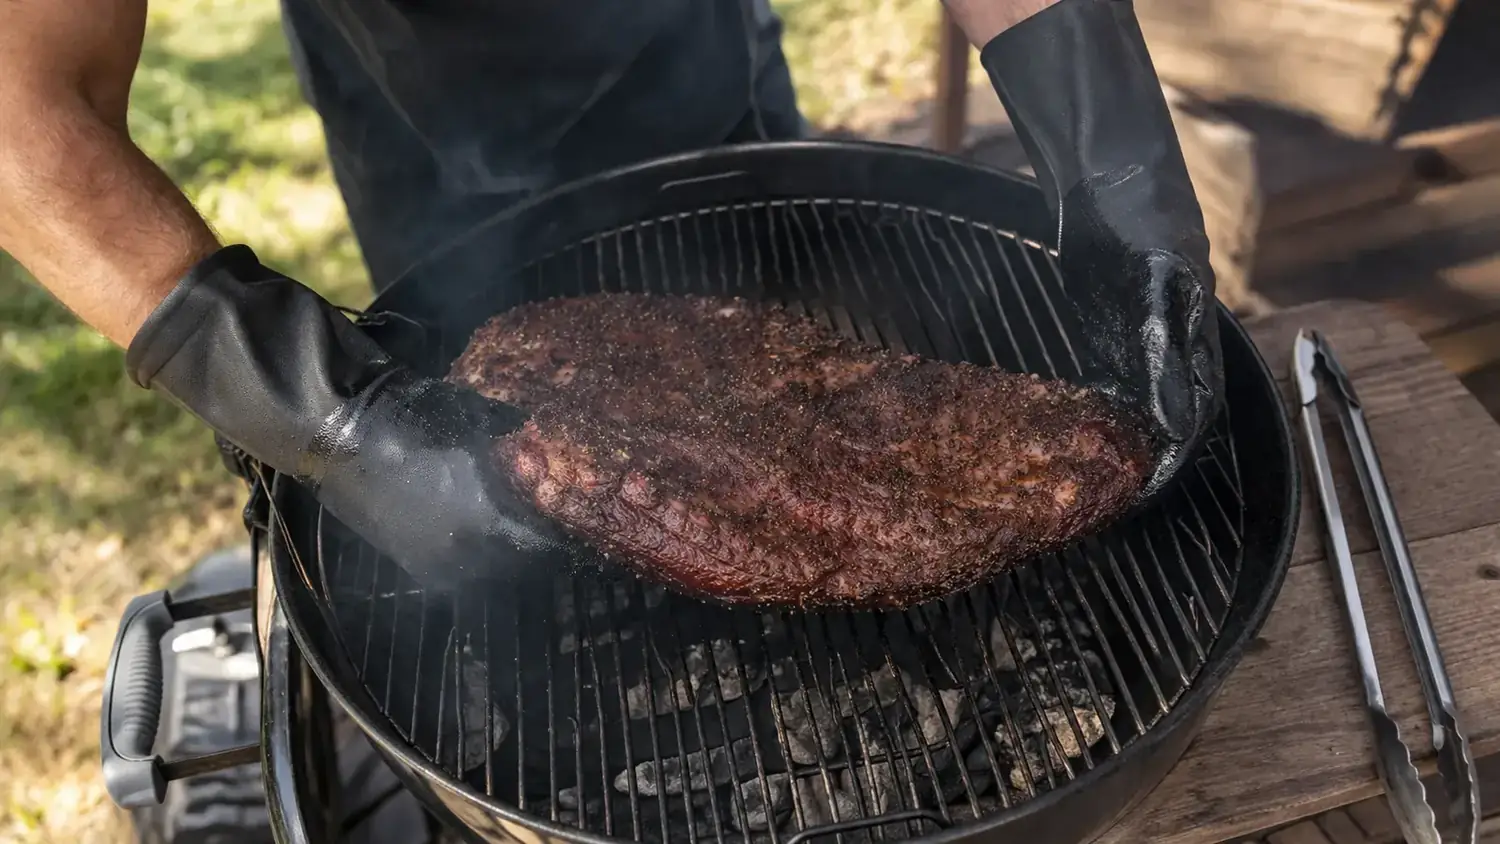
Flipping a 12-pound brisket flat over live coals is a two-handed job. Long tongs give you the reach, but for a cut that heavy and that slick with rendered fat, I pair the tongs with a gloved hand on the far edge to stabilize the flip. Yes, this means one gloved hand will be briefly in the direct heat zone above the grate. That is why glove length matters. With the GEEKHOM pair, my forearm stays covered through the whole motion.
For a whole chicken or a pork shoulder, a set of grill forks or a large flat spatula paired with tongs gives you more control than tongs alone. The goal is always to flip away from yourself so any fat drip falls toward the back of the grill, not toward your legs. Position yourself to the side of the grill, not directly in front of the firebox opening, so a flare-up from the drip goes up and away rather than toward your face.
After a flip, resist the urge to press down on the meat to check doneness or to speed up the sear. Pressing a brisket or a shoulder forces out the moisture you spent hours building up. Use a leave-in probe thermometer to know where you stand on internal temp without opening the lid or poking the meat repeatedly.
Fire Safety Basics That Every Backyard Griller Should Know
I want to cover a few basics that do not fit neatly into the step-by-step flow but matter just as much. Keep a spray bottle of water within reach for small flare-ups, but never use it on a grease fire. Water on a grease fire throws burning fat in all directions. If a grease fire gets out of control, close the lid to cut the oxygen and close the vents. The fire will go out in under a minute. Call the fire department only if it has spread beyond the grill.
Keep a 2.5-pound ABC dry-chemical fire extinguisher within 10 feet of your grill. If you have never done this, go get one today. They are inexpensive, they last for years, and they handle a grease fire when closing the lid is not enough. Check the pressure gauge twice a season.
Never grill inside a garage, under a covered porch with no airflow, or within 10 feet of any structure. Charcoal produces carbon monoxide, which is invisible and odorless. People die every year from grilling in enclosed or semi-enclosed spaces. Outdoors, with clear airflow around the grill, is the only safe environment for charcoal or gas grilling.
What Else Helps
A good instant-read thermometer keeps you from having to cut into large cuts to check doneness, which reduces the number of times you need to lean in over the grill. A long-handled basting brush (silicone, 18 inches) keeps your gloved hand out of the direct heat zone when you are applying sauce during the final 15 minutes of a cook. A grill light that clamps onto the handle is useful if you grill into the evening, because reaching blind toward a hot surface in low light is how accidents happen.
And if you grill on a gas grill rather than charcoal, the same glove recommendation applies. Gas burners heat grates just as hot as charcoal. Flare-ups on gas are faster and more surprising because there is no visual warning the way a growing coal bed gives you. The GEEKHOM gloves work identically on gas and charcoal.
If the steps above sound like you need both hands free and well-protected, that is because you do.
The GEEKHOM BBQ Gloves are 13.7 inches long, rated to 932 F, have a silicone grip that holds wet and slick surfaces, and wash clean in the sink. They are the gloves I reach for before any of the tasks in this guide. Check today's price on Amazon.
Amazon Check Today's Price on Amazon →